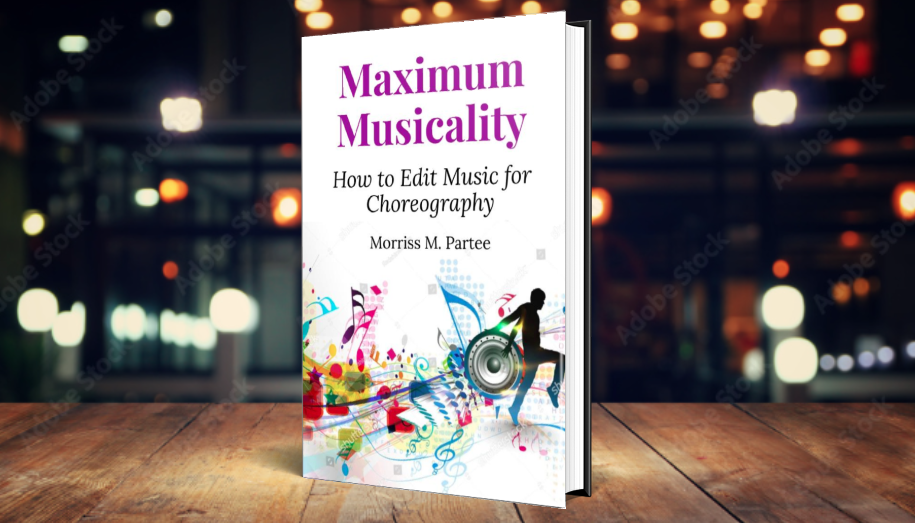
 For dance teachers who need to edit their songs for length, it’s not always clear how to get songs from iTunes into Audacity. There are several ways you can do it:
- You can drag-and-drop the song file from where it’s located in your iTunes folder onto the Audacity program icon.
- You can choose File -> Import and then select the song you want to edit
- You can drag-and-drop the song file icon from where it’s located in your iTunes folder straight onto the open blank Audacity edit window.
If you haven’t done so before, you will also need to download and enable the FFmpeg import/export library in order to convert the m4a file. There is no cost to do so, and it can be done quickly and easily by going to Preferences -> Libraries and clicking “Download” under the FFmpeg library listing.
If you want to export your edit as an MP3 file, you will have to download and enable the MP3 library, which can be done from the same place as mentioned in the previous paragraph, namely Preferences -> Libraries, and then click Download under the MP3 library option.
For more information, check out this Audacity Importing help page.
If you want to save the time and hassle of editing songs yourself, be sure to check out the Squirrel Trench Audio library of more than 300 edited songs and remixes (almost all of which have been cleaned of objectionable lyrics), ready for purchase and instant download on Legitmix. Below is a small sampling of what is available. Click through to the Squirrel Trench catalog on Legitmix to see more selections:

